Showing posts with label Infinity. Show all posts

Wednesday, December 2, 2009

Microphones in the trees pt. 2


I have translated the walkthrough I made about making the base for the Defiance -diorama. There's not much text just a short description for each picture but more WIP pics than I normally have. I hope it's of some use.
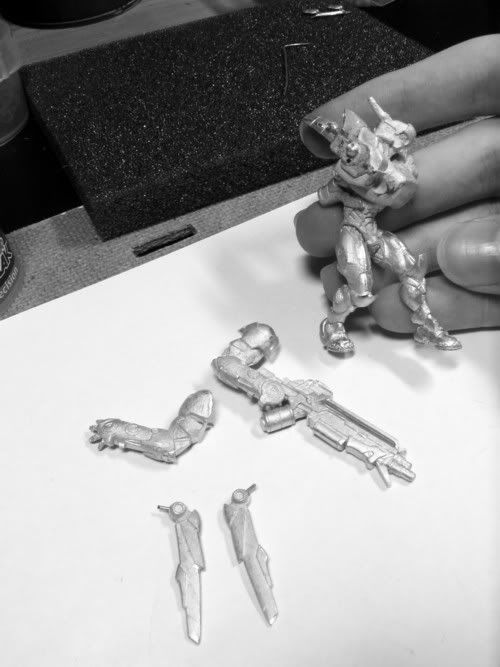


After I had cleaned the parts I decided that I’ll paint the Cutter in these five parts. Here all parts are pinned and fitted.
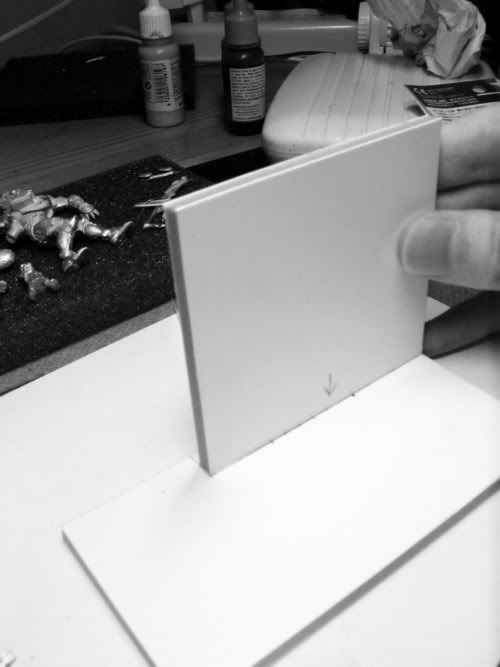

After trying to arrange the miniatures to areas of different sizes I decided that a 6cm x 12cm rectangle would be good proportion for the base. I cut the basic structure of the base from sturdy five millimeter thick foamcore.
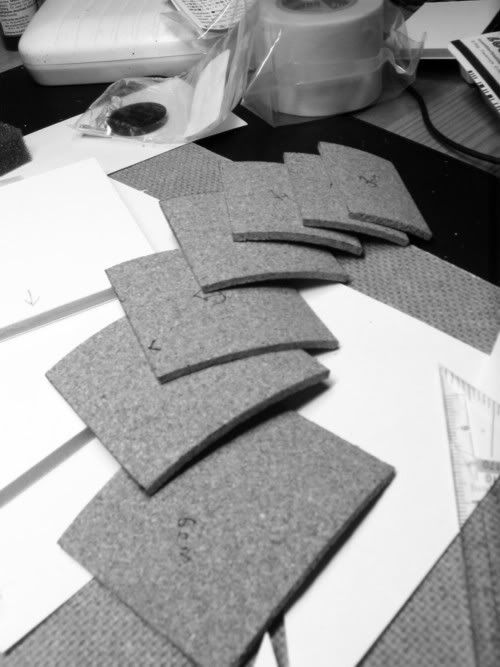

Then I cut the stairs from two millimeter thick corkboard.
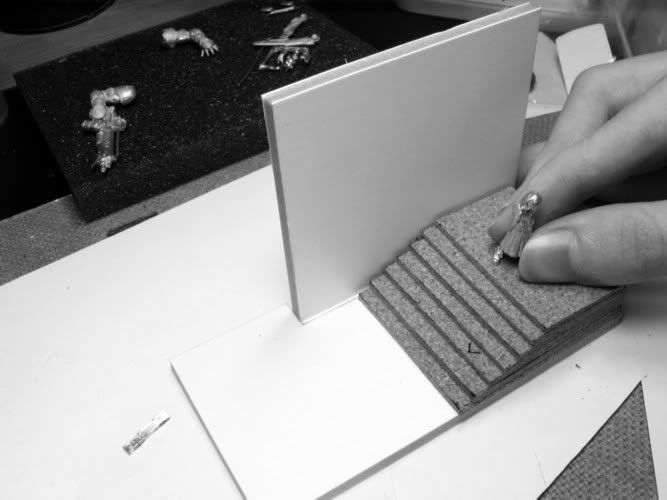

At first there were six steps and each was 5mm broad but it looked a bit too steep and high.


I removed every other step which lowered the stairs and made them look better. I also shortened the wall slightly and covered it with thin plasticard. The stone paving was cut from a textured plastic sheet which was then scratched and sanded to make it look battered.
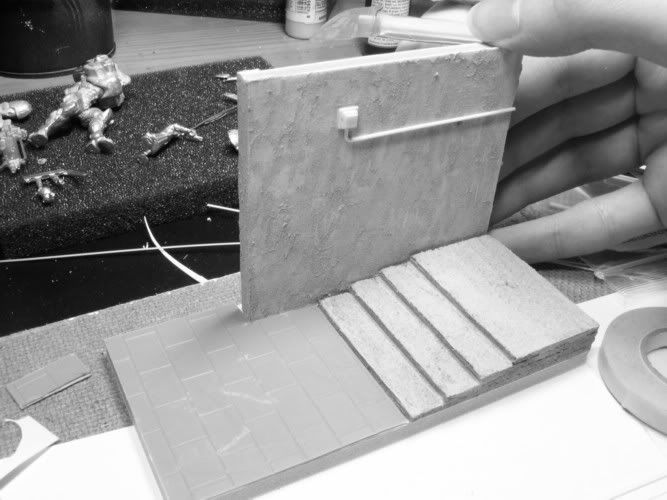

The wall was still detached when I applied the texture. I used Vallejo sandy paste as I’ve found that it works well for nice plaster-like texture. The stairs were supposed to look like concrete so I added smoother coats of the same stuff to have a clear difference beetween the materials. I made the electronic/wire-thing on the wall from plastic rod and plastic strips of varied thickness and shapes.
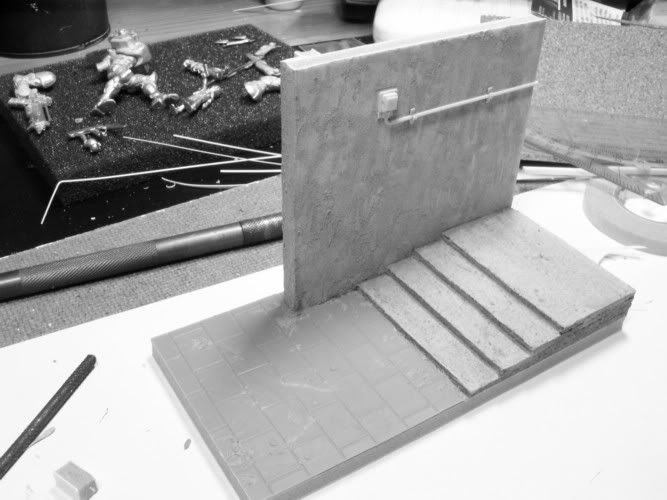

Then I added some holders made from plastic-tube and -strip to the wire. After this I finally glued the wall to it’s place. All the gaps were filled with standard Milliput and I also used it to create areas of dirt and some squished chewing gums.
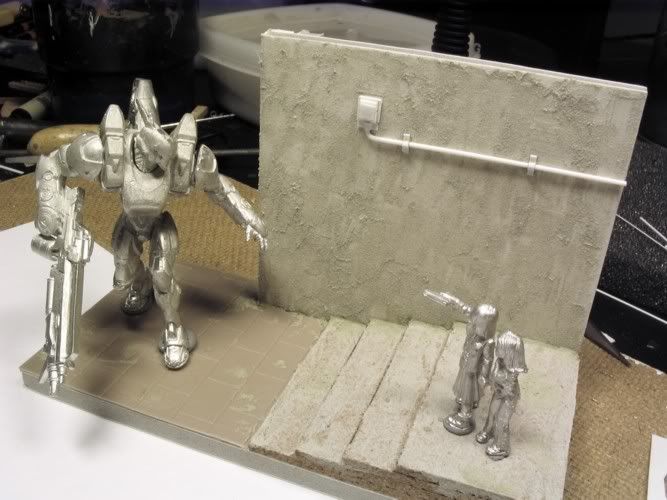
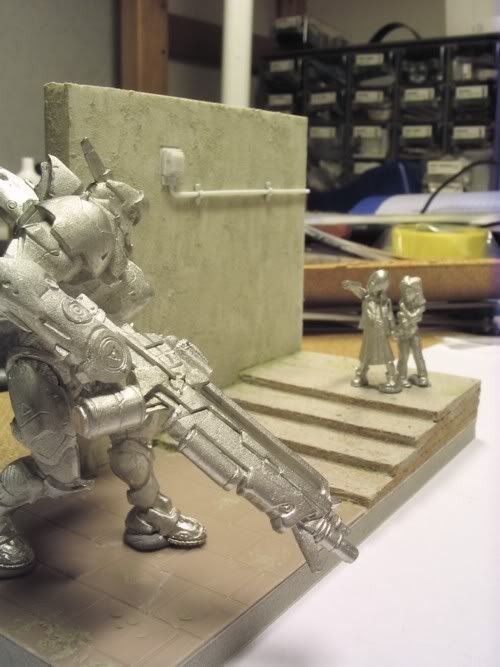

I tested the composition of the minis with blu-tack and drilled the holes for the pins to the right places.


The last thing left before the painting was to cover the edges I did this by cutting the exact shapes from thin plasticard. I filled the corner gaps with Magic sculp.
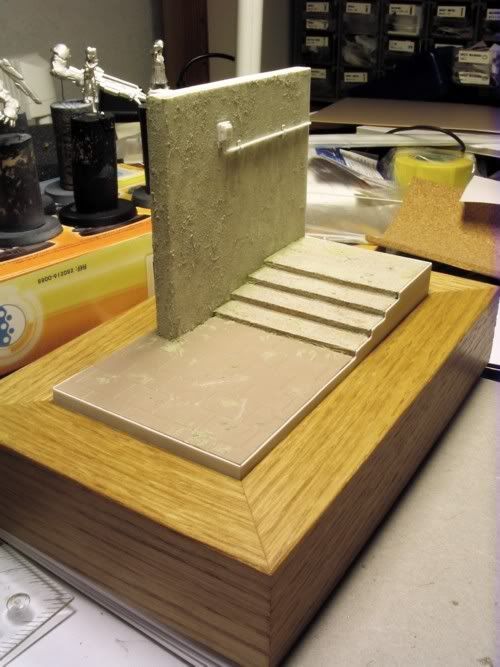

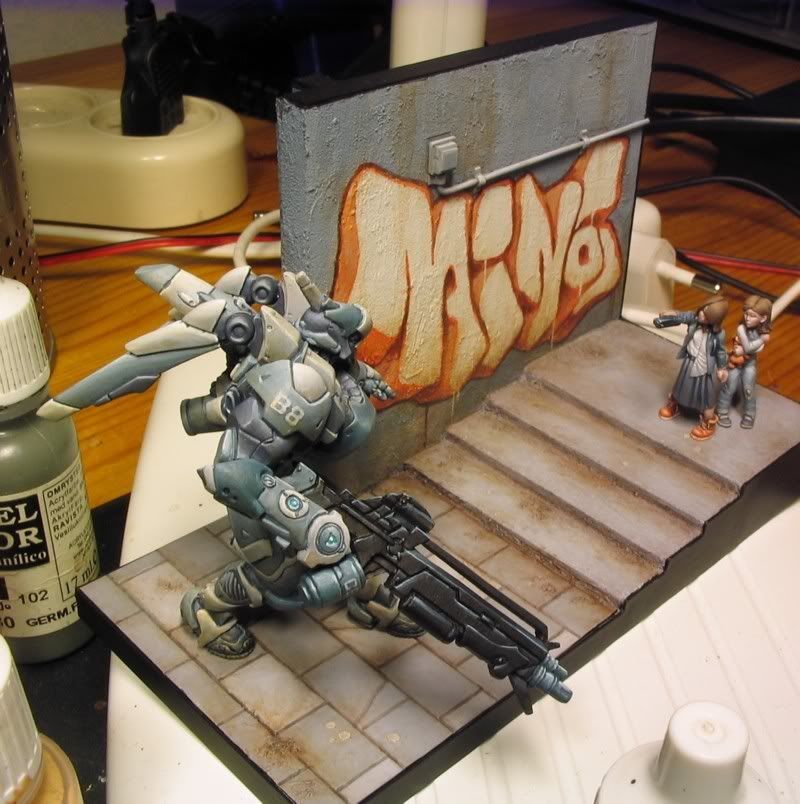
Here is the final result.


When starting the painting stage I’m used to glueing long wires to the pinning holes of the miniatures and then sticking them to bottle cork. After they are painted I can just cut the wire to the right length and glue the miniatures/parts to their right place. Here are the miniature and the base primed with black and then lightly with white.
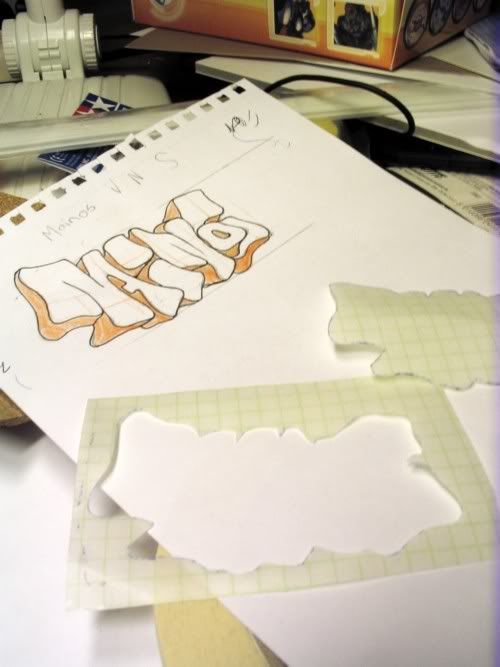

Here is the final sketch I made for the graffiti. I wanted to use real spray paint so I made a simple stencils based on the drawing. The stencil in this picture is primed white and then the parts that should be left white are covered with separate stencils and sprayed with orange.
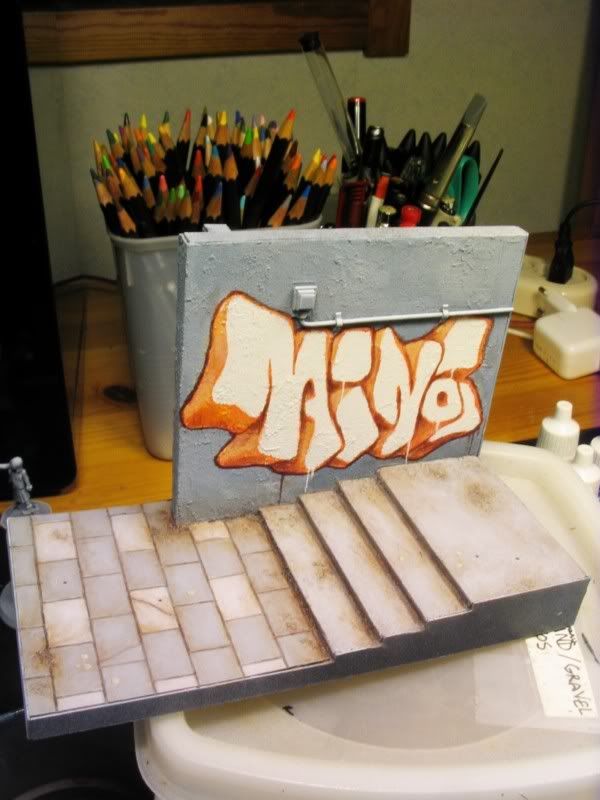

First I painted the whole base with flat greys and I created the variation beetween the basic tones by mixing some blue and brown colours with greys. I used the glazing technique to paint the subtle tones of browns. The wall was only basecoated when I sprayed the base colours of the graffiti. The darker and lighter tones of the orange parts were painted with glazes.
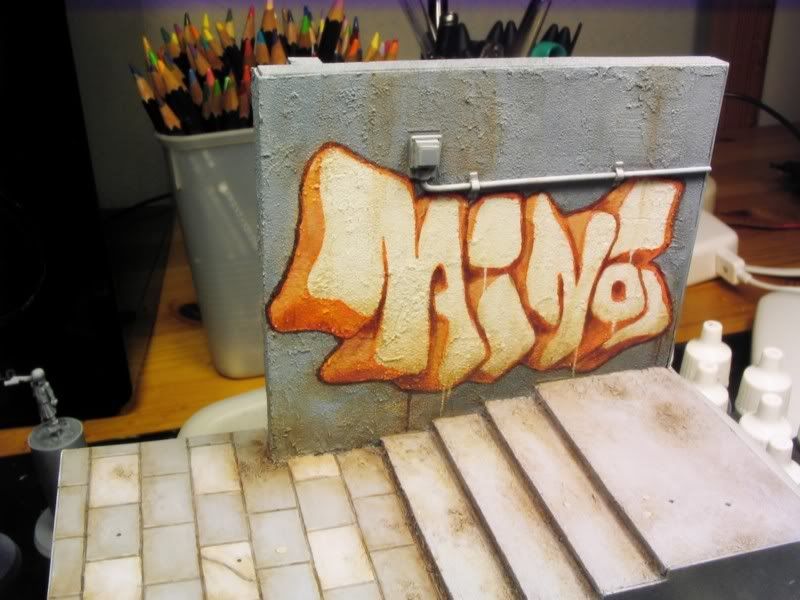

I did not want the graffiti to look too bright so started to glaze the whole wall with brown and grey tones. After this stage I ended up to fade the graffiti a lot more.
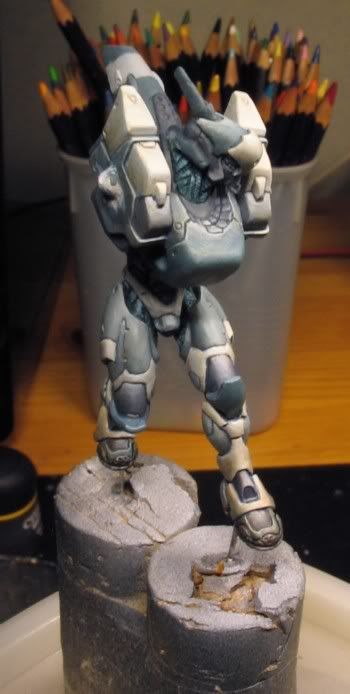
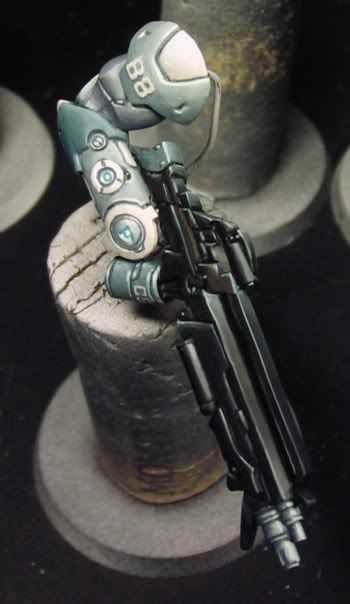
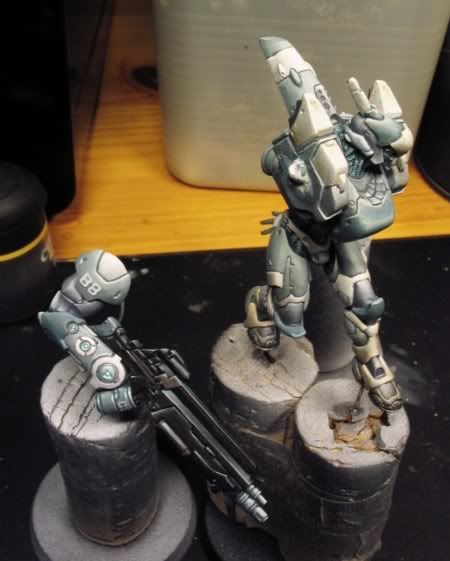
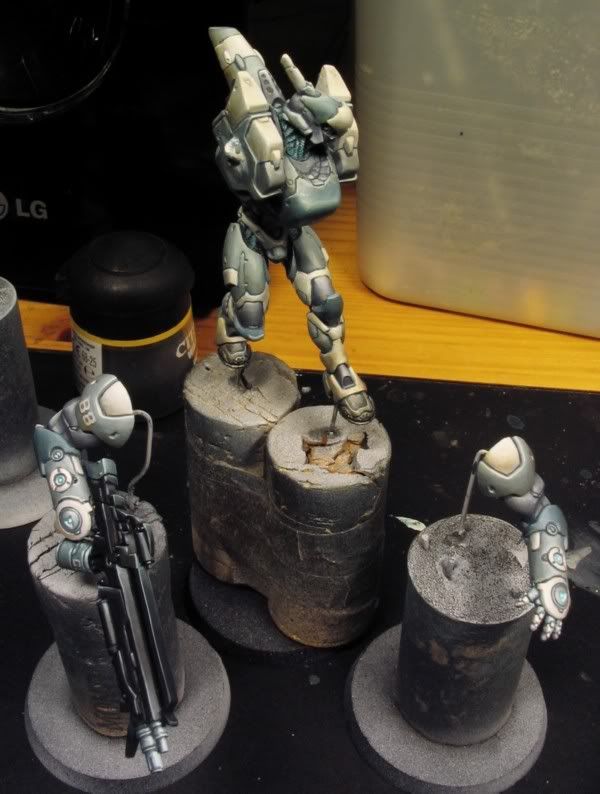
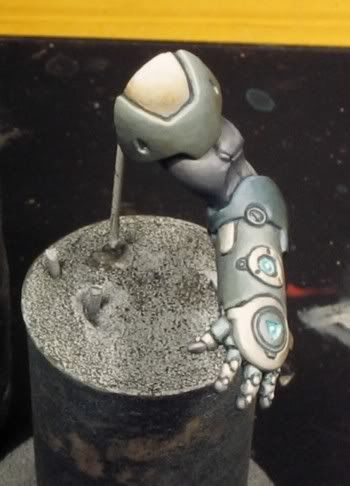


Here are the few more pics I took of the painting stage.
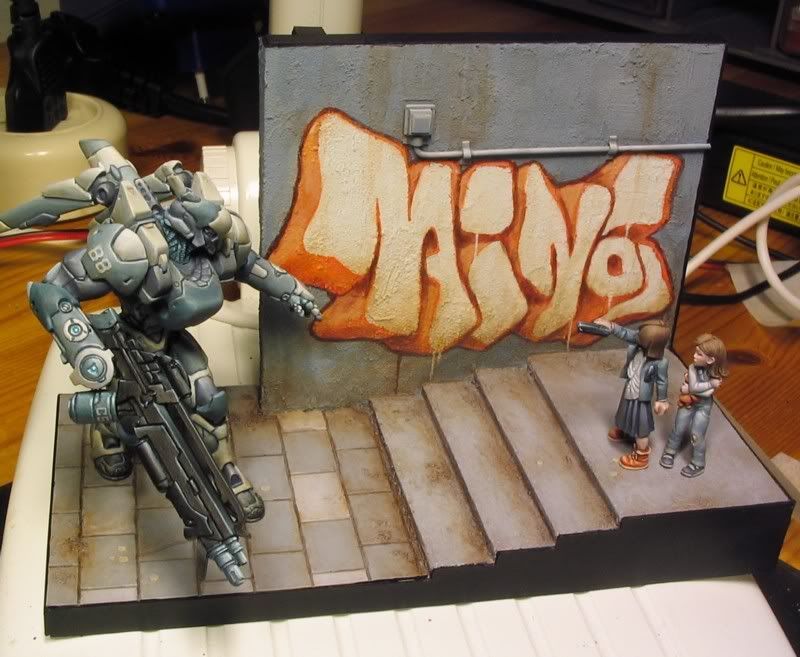


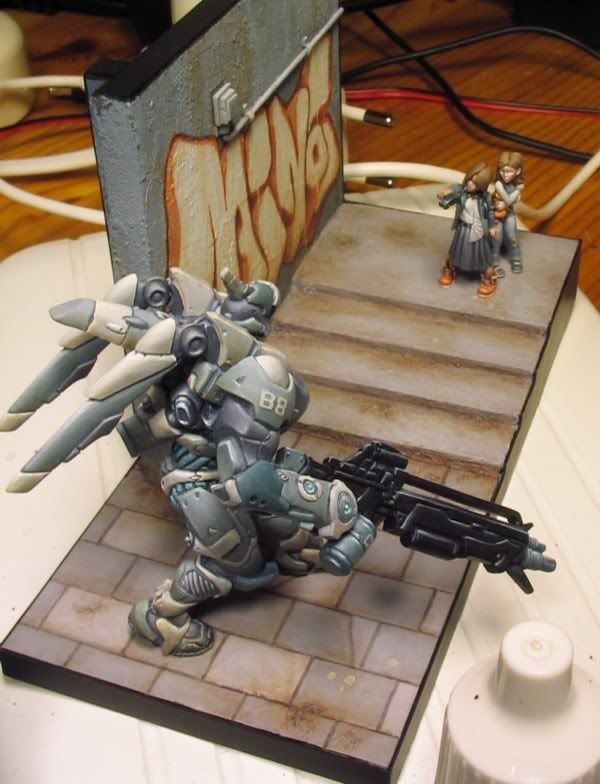
Here all the miniatures are attached I still had to fix couple things before taking the final pics. Adding more glazes to the graffiti was the most notable of them.

Sunday, April 26, 2009

A Desolate corner

I got an inspiration to paint another Ariadna figure, this time the Para-commando catched my eye.

The pose of the mini is a bit too wide for the normal 25mm base so I tried a little experimentation by strongly breaking the round shape of the base like the ground is bursting out. I used corkboard to create the basic shape of the broken concrete beam and then covered it with milliput and sculpted the cracked surface. The ground was also sculpted with milliput the trick to create a realistic texture is to not use water when sculpting so the milliput fragments nicely. The edge is not perfectly smooth because I didn't have the patience to sand it enough...


I also have painted a base for the next mini. I really need to figure out ways to make realistic plants. When creating Prypiat/abandoned area themed bases I think the plants should really be playing the main part.

Monday, March 23, 2009

Take these hands and throw them in the river

I painted another beutiful sculpt by Yannick Hennebo, it's Yu Jing Tiger Soldier with boarding shotgun. After finding some old notes I wrote when painting the Mech-engineer I decided to use the same theme with some minor changes.

Thursday, January 22, 2009

Microphones in the trees


This is my last work from 08. It's a little diorama I made by usin the Corvus Belli's Cutter and Hasslefree's Alyx and Billie. The scene is supposed to express defiance.


I took some wip pics while building and collected them to make a simple tutorial. I'll translate it to English when I have time to do that.

Wednesday, December 10, 2008

Back to the Red Forest

Here is a new Line Kazak with HMG for my Ariadna group. I sculpted the base almost a year ago.


A new goup pic, as you can see, the Prypiat/abandoned area theme continues on the bases.


I also have painted another Yu Jing figure; Wu Ming.


..and the alternative gentleman mini for Pulp City.

Saturday, May 10, 2008

Terrible canyons of static

Last tuesday I painted an Ork Runtherd it was the funny one with a snotling hanging on the left leg. I had another experiment in painting yellow it's been a colour I've not used very much so I really need to improve. It came out pretty well but I had to add some scratches because the yellows looked too bright and clean. This time the back plate freehand was painted by a really dumb ork artist the plan was so simple... hurhur


After that one I started a small showcase project which I finished yesterday. The mini I chose was Yu Jing mech-engineer from Infinity, this piece was a present and the mech-engineer was the most fitting.


Saturday, March 1, 2008

En avant-garde toujours

[I painted the 13ème Moblot]


Wednesday, February 27, 2008

Bleeding under the ocean of the night sky

[I painted the Foxtrot ranger yesterday and now I'm painting the 13eme Moblot.]


Friday, February 1, 2008

I look in mirror and all I see is blank space

I built base for my Ariadna Foxtrot ranger:


My intention was to make it look like a floor of a long time ago abandoned swimming pool, like in this photo just without the rain water. [This picture isn't taken by me]

Tuesday, January 29, 2008

Call me concerned I can see blue skies turn black

Last weekend I painted the last mini from my Ariadna starter pack.

Veteran Kazak with AP rifle:


Group pic of my painted Ariadna minis: