

I have translated the walkthrough I made about making the base for the Defiance -diorama. There's not much text just a short description for each picture but more WIP pics than I normally have. I hope it's of some use.
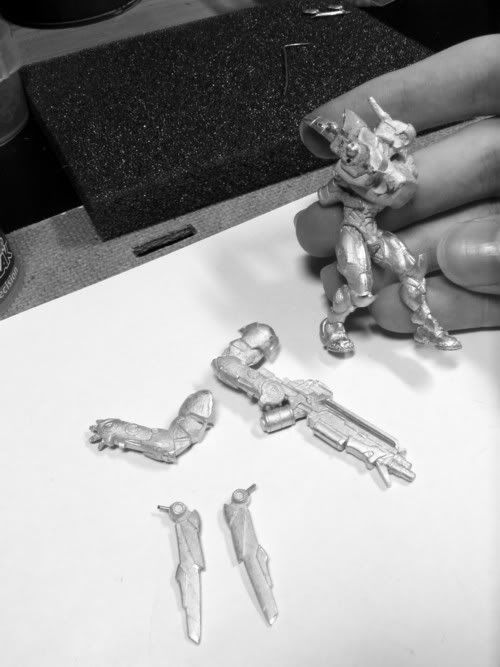
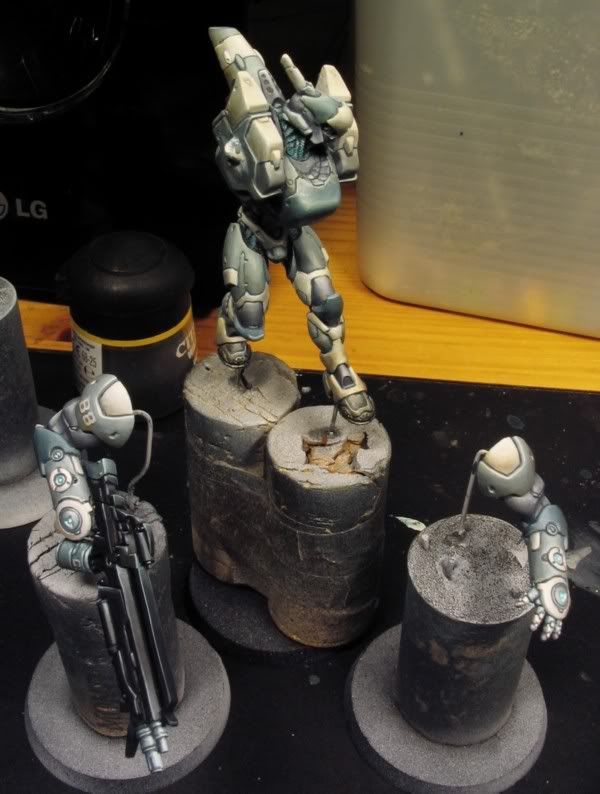
After I had cleaned the parts I decided that I’ll paint the Cutter in these five parts. Here all parts are pinned and fitted.
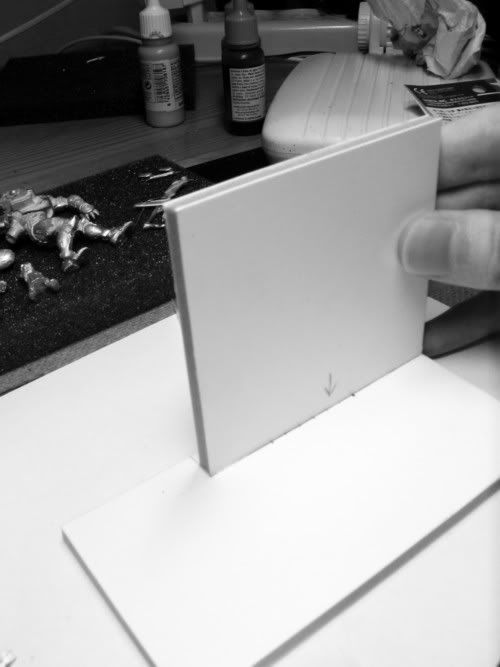
After trying to arrange the miniatures to areas of different sizes I decided that a 6cm x 12cm rectangle would be good proportion for the base. I cut the basic structure of the base from sturdy five millimeter thick foamcore.
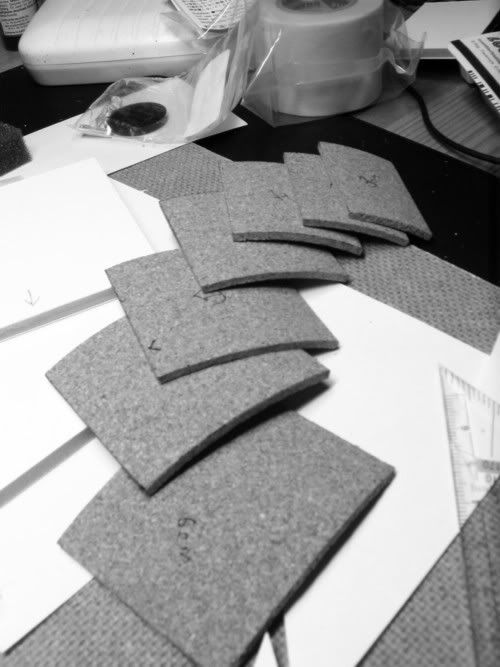
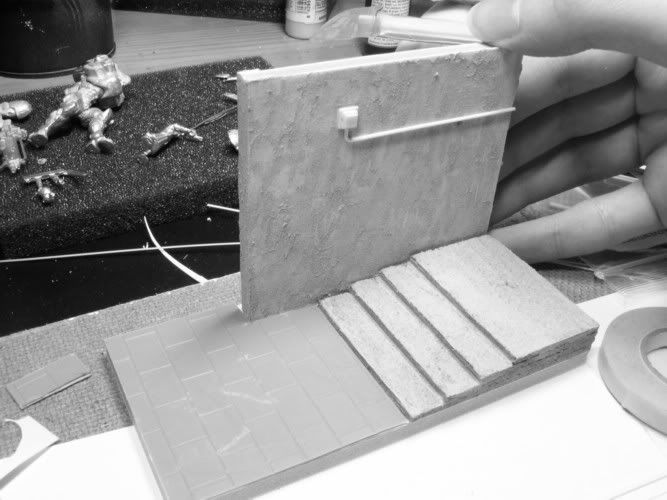
Then I cut the stairs from two millimeter thick corkboard.
At first there were six steps and each was 5mm broad but it looked a bit too steep and high.

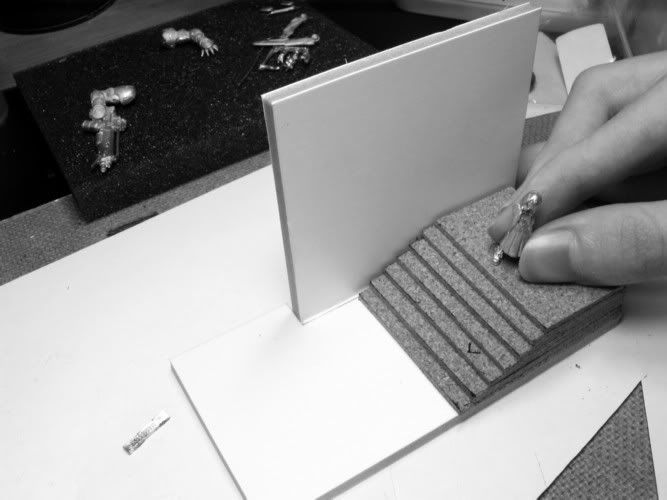
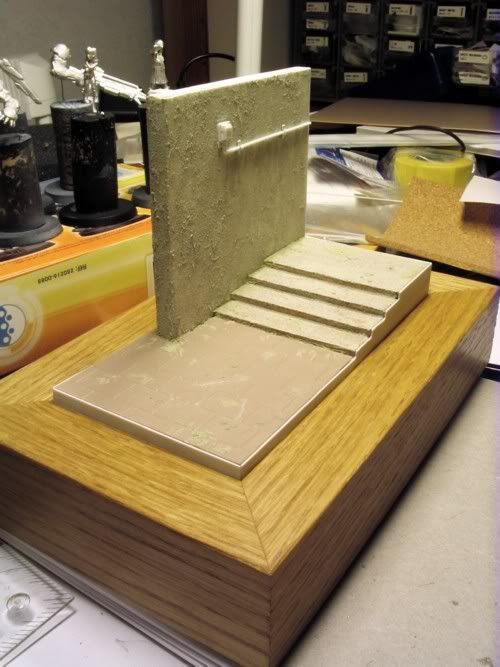
I removed every other step which lowered the stairs and made them look better. I also shortened the wall slightly and covered it with thin plasticard. The stone paving was cut from a textured plastic sheet which was then scratched and sanded to make it look battered.
The wall was still detached when I applied the texture. I used Vallejo sandy paste as I’ve found that it works well for nice plaster-like texture. The stairs were supposed to look like concrete so I added smoother coats of the same stuff to have a clear difference beetween the materials. I made the electronic/wire-thing on the wall from plastic rod and plastic strips of varied thickness and shapes.
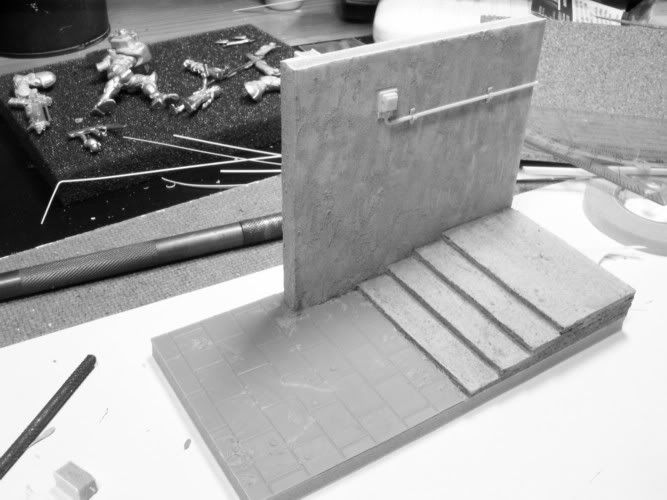
Then I added some holders made from plastic-tube and -strip to the wire. After this I finally glued the wall to it’s place. All the gaps were filled with standard Milliput and I also used it to create areas of dirt and some squished chewing gums.
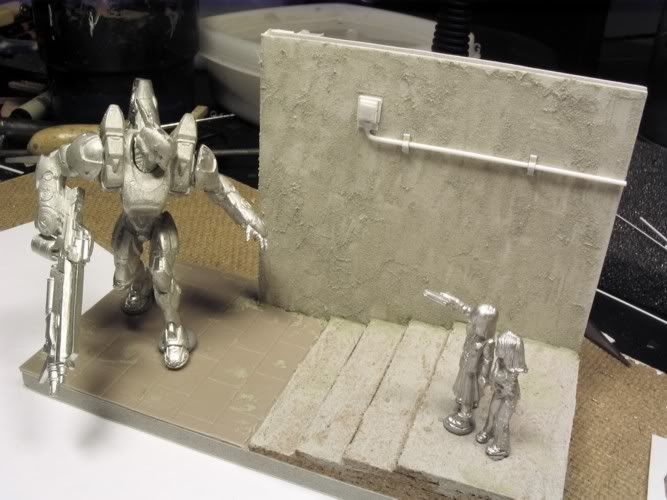
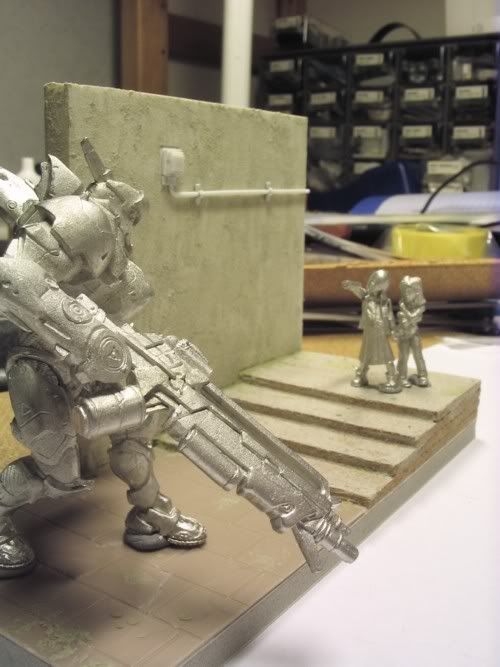
I tested the composition of the minis with blu-tack and drilled the holes for the pins to the right places.

The last thing left before the painting was to cover the edges I did this by cutting the exact shapes from thin plasticard. I filled the corner gaps with Magic sculp.
Here is the final result.

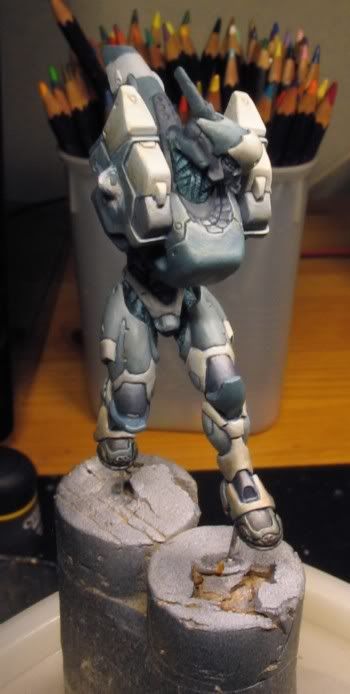
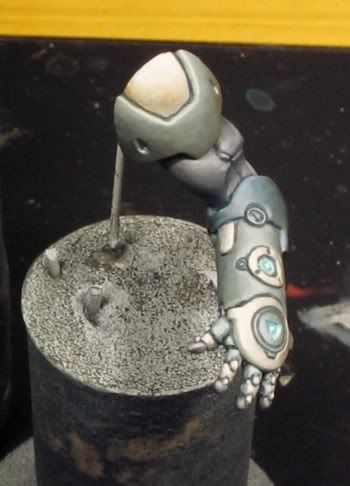
When starting the painting stage I’m used to glueing long wires to the pinning holes of the miniatures and then sticking them to bottle cork. After they are painted I can just cut the wire to the right length and glue the miniatures/parts to their right place. Here are the miniature and the base primed with black and then lightly with white.
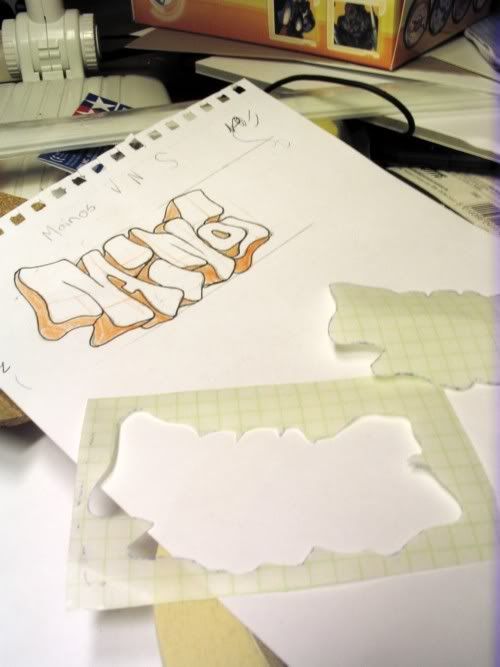
Here is the final sketch I made for the graffiti. I wanted to use real spray paint so I made a simple stencils based on the drawing. The stencil in this picture is primed white and then the parts that should be left white are covered with separate stencils and sprayed with orange.
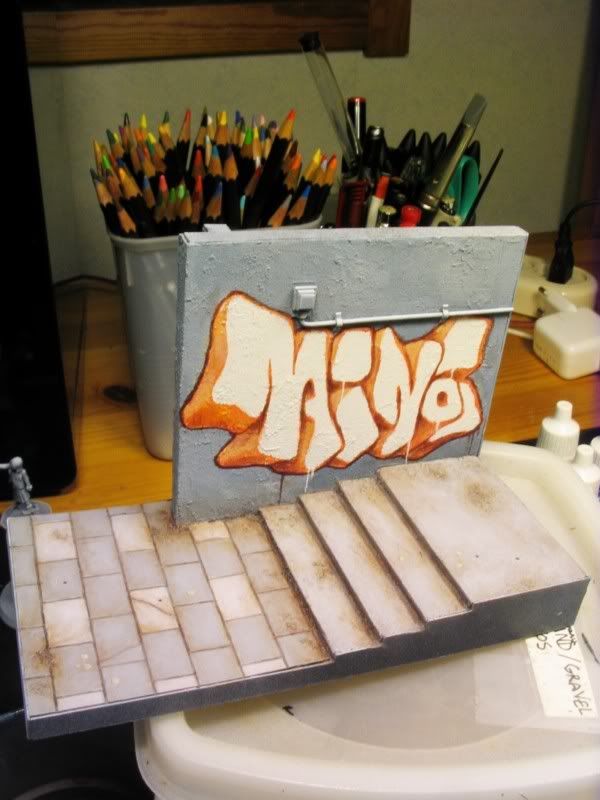
First I painted the whole base with flat greys and I created the variation beetween the basic tones by mixing some blue and brown colours with greys. I used the glazing technique to paint the subtle tones of browns. The wall was only basecoated when I sprayed the base colours of the graffiti. The darker and lighter tones of the orange parts were painted with glazes.
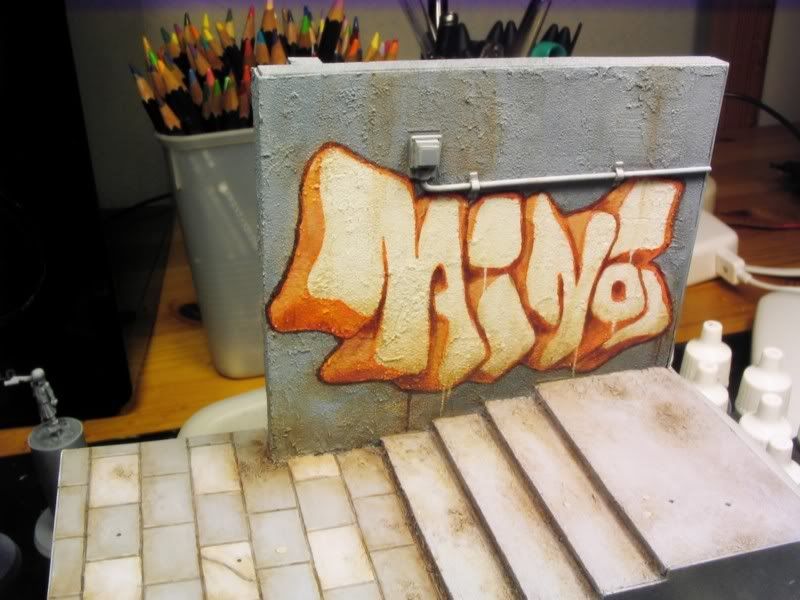
I did not want the graffiti to look too bright so started to glaze the whole wall with brown and grey tones. After this stage I ended up to fade the graffiti a lot more.
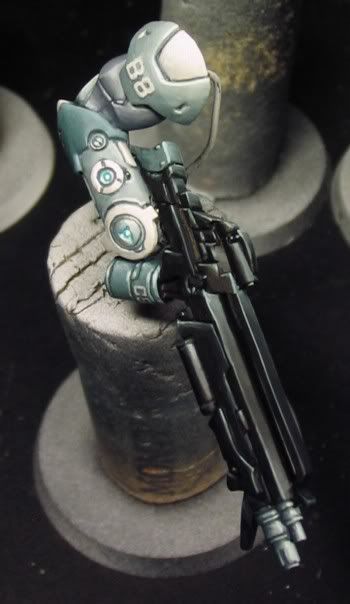
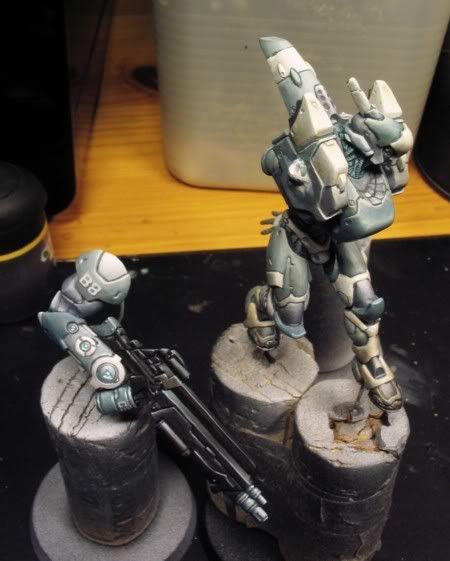

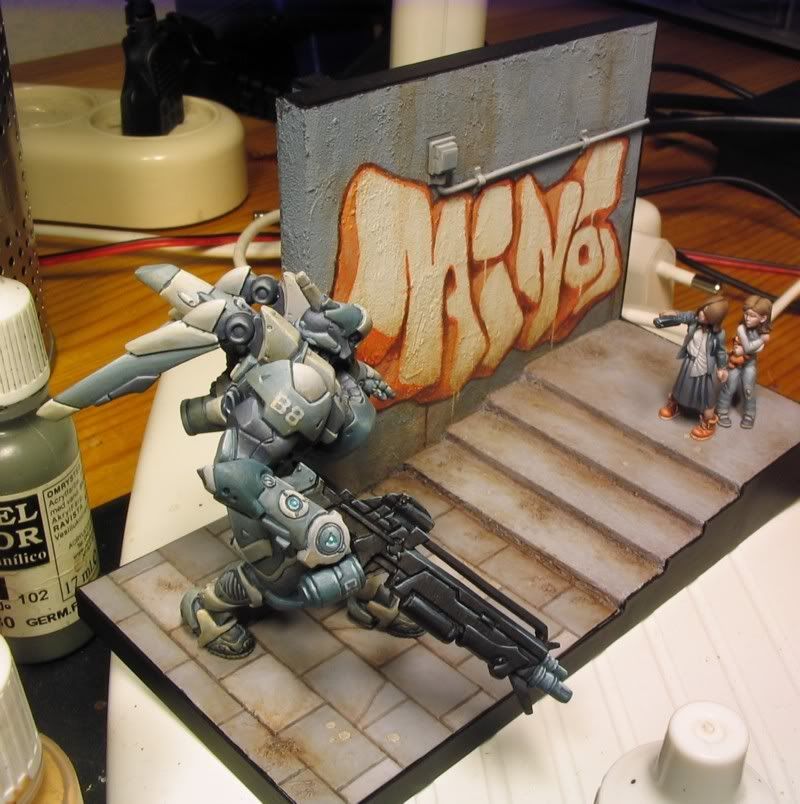
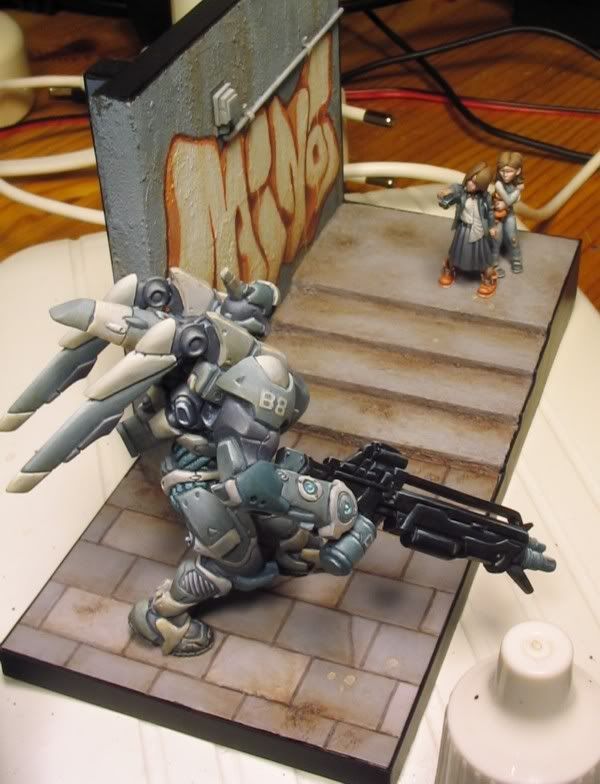
Here are the few more pics I took of the painting stage.
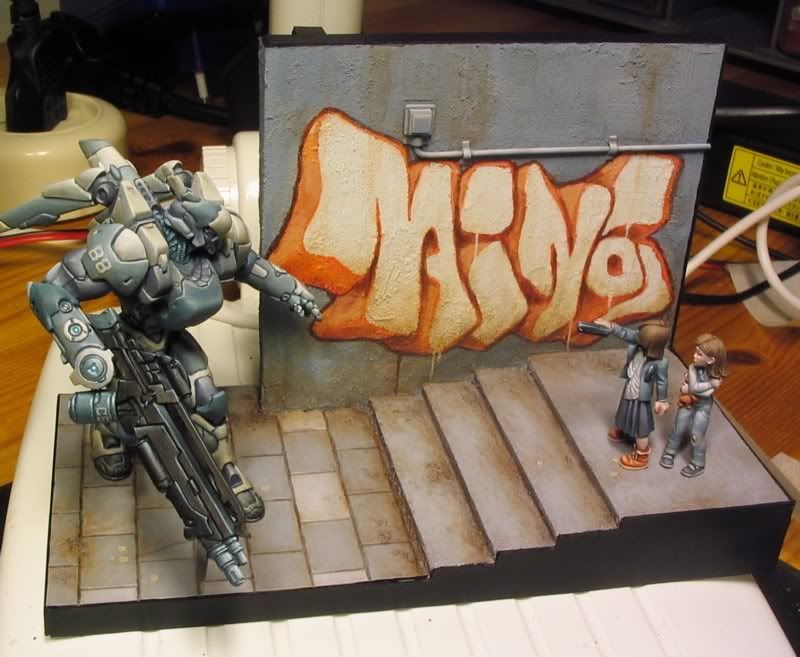
Here all the miniatures are attached I still had to fix couple things before taking the final pics. Adding more glazes to the graffiti was the most notable of them.
4 comments:
OK, I've got a question. I never paint models in pieces the way you did because more than half the time, when I superglue the pieces together I get some sort of dust near the joins. Like something in the air has reacted with the superglue.
This happens even if there is no spillover or slop from gluing the pieces together. How do you prevent this? Or has it never been an issue?
Maybe I acn answer this. Firstly it depends on the glue you use- but from what you write I guess that you use cyanoacrylate-based stuff. The mist appears when the cyanoacrylate vapors reacts beacazse of a high air moisture on the model. Try wo work in a drier area- it might help.
Thnaks for the tut- alwys nice to see the steps in creating something awesome like this.
\o/ the whole scene is amazing. The gun on the mecha is rocking! Very nice.
Getting a topaz ring as links london jewellery jewelry gifts from better-half is no lower than an awesome joy. discount links of london bracelets Many ladies do admire such jewelry sparkling through charms links of london their fingers. If you may get to own one as gift, links of london silver watches you will definitely appreciate such beauty and elegance for high class cheap links of london necklaces type of jewelry. Those who know what the actual worth of gemstones will links london pendants certainly love to have one added into their collection.
Post a Comment